I was commisioned to build the Mistletainn chainsaw from Kore Wa Zombie Desu Ka.

Due to all kinds of delays from my studies and whatnot, this sat on my workbench for far too long.

I began by building the chainsaw chassis from floor paneling(Essentially MDF, just with textured flats. I used the flat, slightly pebbled texture for the outside, with the "wood" side pointing inwards)

The top of the box had four vents grinded onto it.

The blade guide bar was made from two halves of the same paneling.

The guide bar housing was made from three layers of the very same paneling.

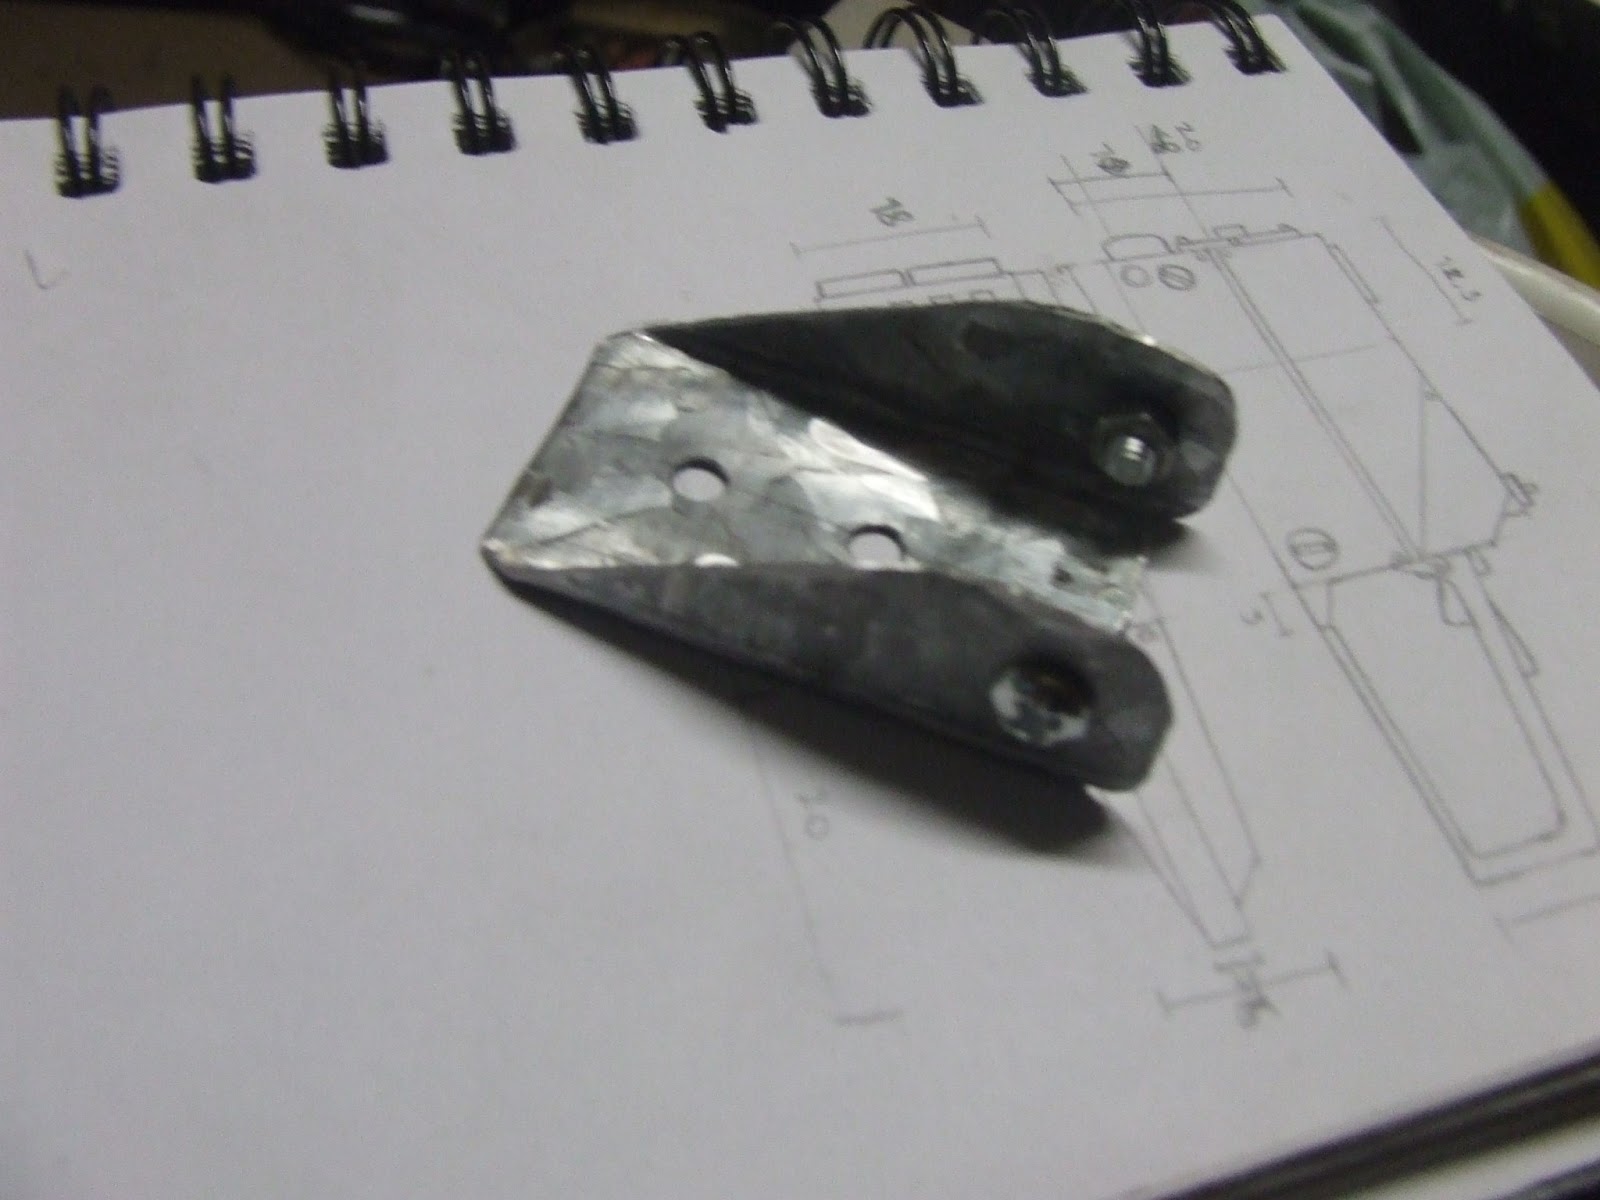
The knockback guard was made from yet another piece of floor paneling, and a wooden piece for the mounting arm. Pictured in semi-assembled state.

The slot on the guard was also milled with a grinding bit on a drill press. Artsy.
(I can in no way suggest this to anyone, at least on my drill, the chuck kept dropping from it's housing due to the vibrations. I managed to do all the milling on this project this way mainly because I was going very, VERY slowly.)
A piece of sheet metal was cut&bent to be a decorative piece on the grip.

The grip itself was made from laminating two pieces of wood together, and secured to the chassis with screws, ensuring that it'll stay there. Trigger and safety catch were made from pieces of plywood, and are static. The white stuff on the bottom is wood filler, used to fill the wood grains on the floor paneling.

Guide bar attached to th chassis. First time picturing how damn huge this thing will be.

Th guide bar has an illuminted text on it, and the way I decided to do this was to build a recessed light box on the guide bar, cover it with laminated pink paper, and attach a thin cardboard side panel with the text cut out of it. I printed the text on paper, cut out the text and traced the shape onto the cardboard side panel.

With the letters cut out, mocked upon the light box on the guide bar.

Mock-up of the effect.

The pullcord housing was a major PITA* for a long time. In the end, I made it by sculpting the shape out of insulation foam and skinning it with cardboard.

I decided to line the reflector box in the guide bar with aluminum foil to maximise the brightness of the lit text. Black things are latex tape used to insulte the circuit from the conductive aluminum.

The wiring was going through a routed channel in the guide bar, and through a hole inside the chassis, were the batteries and power switch reside. (4 bright white LEDs powered with 2x 9V battery, if anyone's interested. there's a resistor in between there, but I forgot it's details (and am too lazy to calculate)

Detail parts attached around the handle. Above the root of the handle is where the power switch resides.(still dangling free though)

The front carrying handle was made out of 32mm sewer piping. With the time&budget constraints, I didn't figure any other smart and/or more accurate ways to do this, unfortunately.

Next thing to do was paint. (the side panel on the guide box still mocked in place)

I snatched a real chainsaw pullcord knob from a dead chainsaw and screwed it into place (static aswell)

Detail pieces around the back, painted aswell. Also pictured is the power switch for the lights on it's final place.

The vent holes were backed with cardboard and picked out with black acrylic paint.

The high-tech way I figured for gluing the gudie bar side panel into place. Just apply weight!

The chainsaw's "blade" was made by gluing on a bike-chain style chain(I pulled tihs off an old photograph printing machine).

...And finally finished. These pictures were taken literally 20 minutes before the train to the con where I delivered this to the client left. (hence a little blurry)

Detail shot from the front.

And a final picture of the painted handle.
Tools used:
-bandsaw
-disksander
-glue(cyanoacrylate, two-part epoxy, hot glue, PVA-glue)
-sandpaper of various grits
-drill press
-x-acto
-soldering iron
-wood filler
-paints
-files
-various drill&grinding bits
-router
Thanks for reading!
*Pain In The Ass
Ei kommentteja:
Lähetä kommentti